Step 1: Find the IP
First, set both the victim and attacker machine to a Host-only Adapter (Bridged is also possible, but we use host-only for this tutorial).
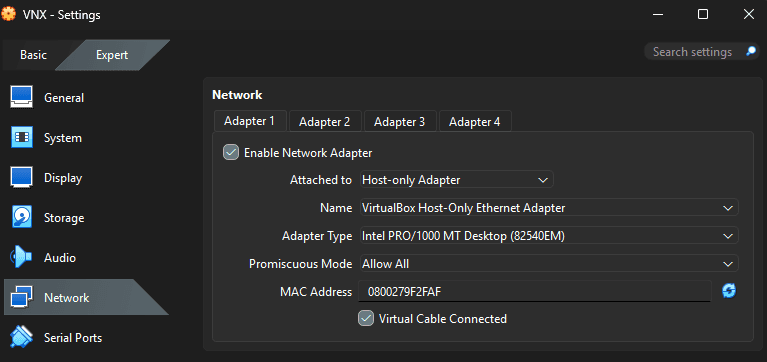
We can find the IP of the device by using Netdiscover:

Step 2: Finding Open Ports
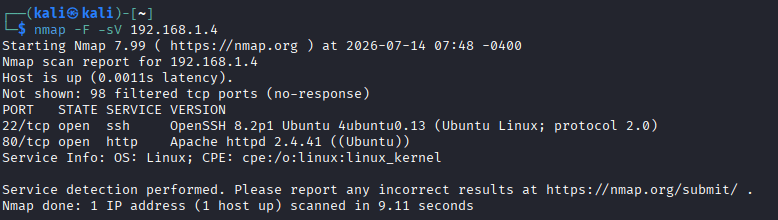
Use Nmap to look out for open ports on the target IP:
Nmap revealed two open ports:
- 22 (SSH) running OpenSSH 8.2p1
- 80 (HTTP) running Apache 2.4.41
The service versions indicate the target is likely an Ubuntu-based Linux system.
Step 3 & 4: Web Enumeration
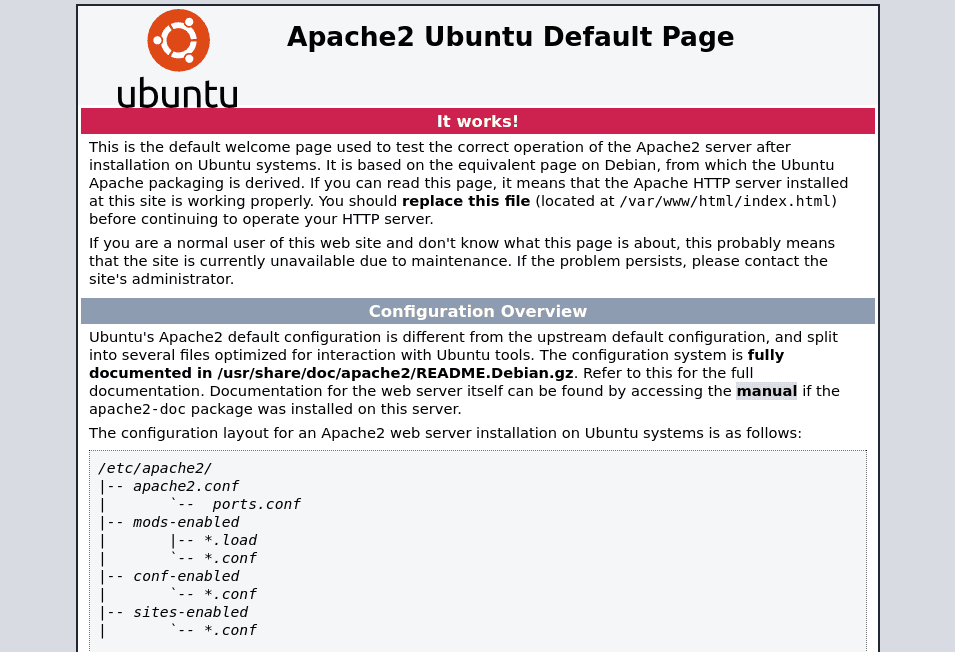
Opening the IP in the browser reveals a default Apache landing page:
We use Gobuster to find hidden endpoints and directories within the server:
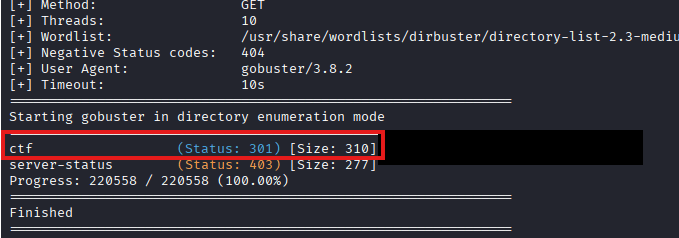
Gobuster reveals the existence of a page named /ctf. Opening the page gives us this clue:
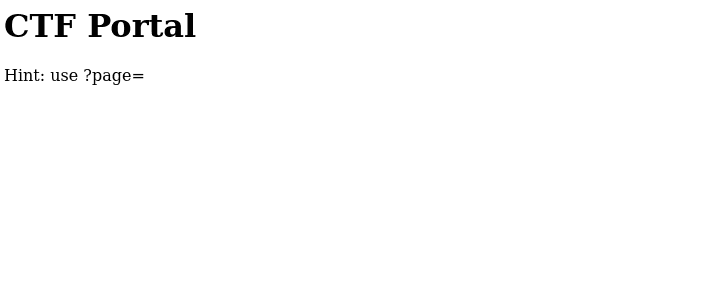
From this clue, we can assume command execution—or at least that the ?page= parameter opens a file directly via Local File Inclusion (LFI).
Step 5: Find and Inject the Payload
We employ a Directory Enumeration Vulnerability to obtain the SSH key via the browser:
We receive the following key. Save it to a text file (naming it vnx_key in this case):
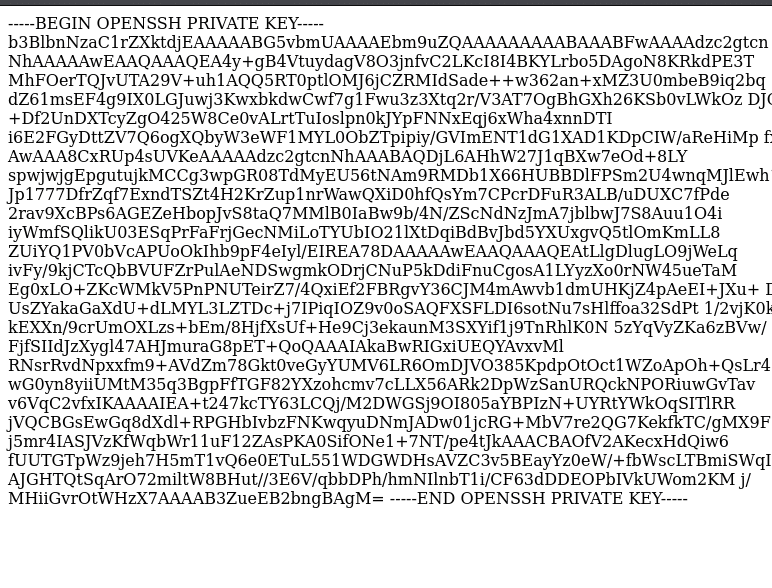
Download the key directly and assign it the correct strict permissions required by SSH:
Step 6: Log onto SSH
Enter the following command to log in using our extracted SSH key:

Let's audit the account to find any possible privilege escalation vectors:
The fact that our user is part of the docker group is our entry point for escalation.
Step 7: Setting up the Attack

Step 8 & 9: Privilege Escalation & Flag
On the victim's machine, run the following command to map the root directory to a volume inside a new Docker container and drop into a shell. Since Docker runs as root, this effectively gives us a root shell:

Through some quick enumeration in the root directory, we find our prize:

Machine Compromised
FLAG{docker_socket_is_root}